Getting started with Orvos
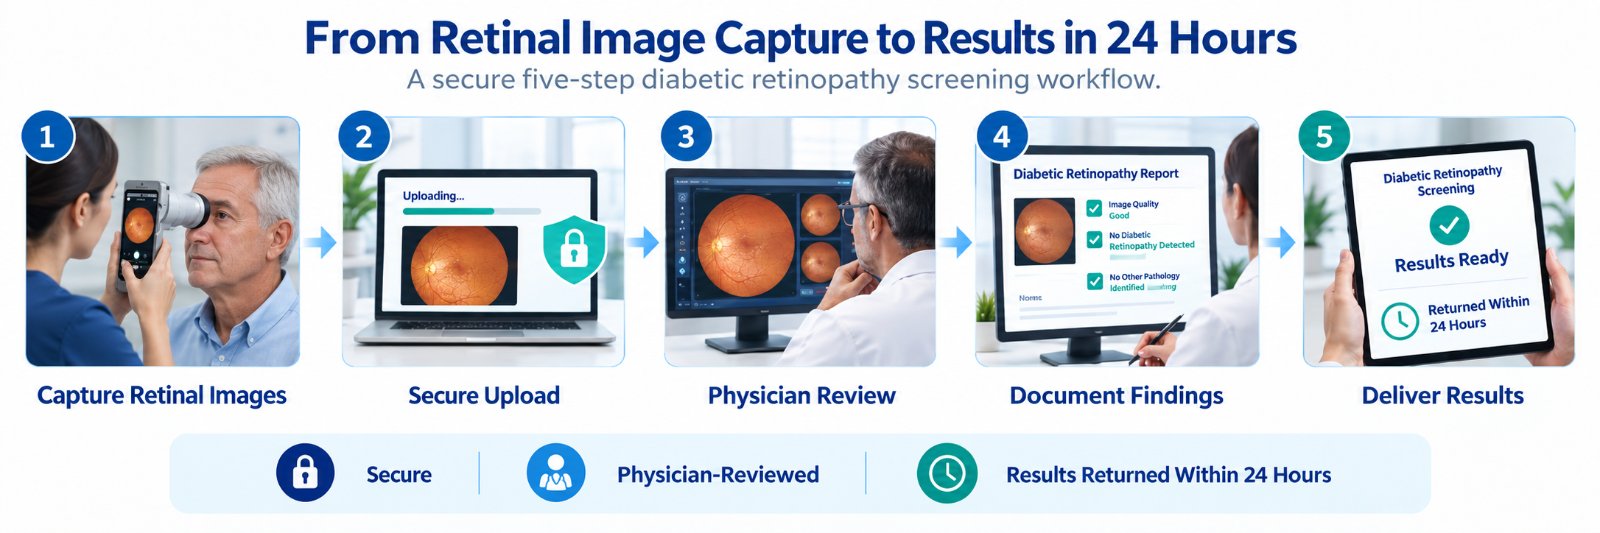
Five steps take you from choosing a camera to your first patient reads. The whole process can take as little as 14 days, depending on camera delivery and your team's schedule.
Select your camera
Use the Orvos Camera Guide to choose a handheld or tabletop camera that fits where you see patients, who will take the images, and how many patients you screen. Orvos can help you weigh the options.
Order your camera
Order from the manufacturer or its authorized distributor using the links in the Camera Guide. Share the expected delivery date with Orvos so training and setup are scheduled around it.
Attend virtual training
A live online session for the MAs, nurses or home health aides who will take images. It covers positioning the patient, capturing a gradable image, and sending images to Orvos.
Configure DICOM on the camera
Orvos gives you the DICOM destination details (AE title, host and port) to enter in the camera or its software. Send a test image to confirm it reaches Orvos.
Set up your clinic in the Orvos portal
Add your clinic locations, providers and staff logins, and choose who receives results. Then screen your first patients, and Orvos physicians read the images.